반응형
prometheus를 설치하기 위한 방법은 다양하다. binary로 설치하거나, 단일 docker container로 구동하거나, yaml파일을 작성하여 kubernetes 클러스터에서 실행하거나... 이 글에서는 helm chart를 사용하여 kubernetes 클러스터에 prometheus를 구동하는 방법을 공유하겠다.
❉ Helm 3 설치가 선행되어야 한다. ( https://www.leafcats.com/338 )

1. Git repo info
helm repo add prometheus-community https://prometheus-community.github.io/helm-charts
helm repo update
2. value.yaml 수정을 수월하게 하기 위해 git repo를 clone받자.
git clone https://github.com/prometheus-community/helm-charts.git
3. 환경에 맞게 value.yaml을 수정하자.
config를 위한 prometheus.yml 수정도 value.yaml을 통해 할 수 있다.
본 예제를 위해서는 prometheus server와 alertmanager를 node port로 노출하기 위해 다음과 같이 수정했다.
alertmanager:
    loadBalancerIP: ""
    loadBalancerSourceRanges: []
    servicePort: 80
    nodePort: 30005
    sessionAffinity: None
    type: NodePort


server:
    loadBalancerIP: ""
    loadBalancerSourceRanges: []
    servicePort: 80
    sessionAffinity: None
    type: NodePort
    nodePort: 30006
4. helm install
helm install [RELEASE_NAME] prometheus-community/prometheus -f values.yaml
6. 확인
kubectl get po
prometheus 관련 pod들이 잘 실행되었는지 확인한다.
혹, node-exporter 실행에서 error가 발생한다면 다음 글 참고 (https://www.leafcats.com/340 )
7. 접속
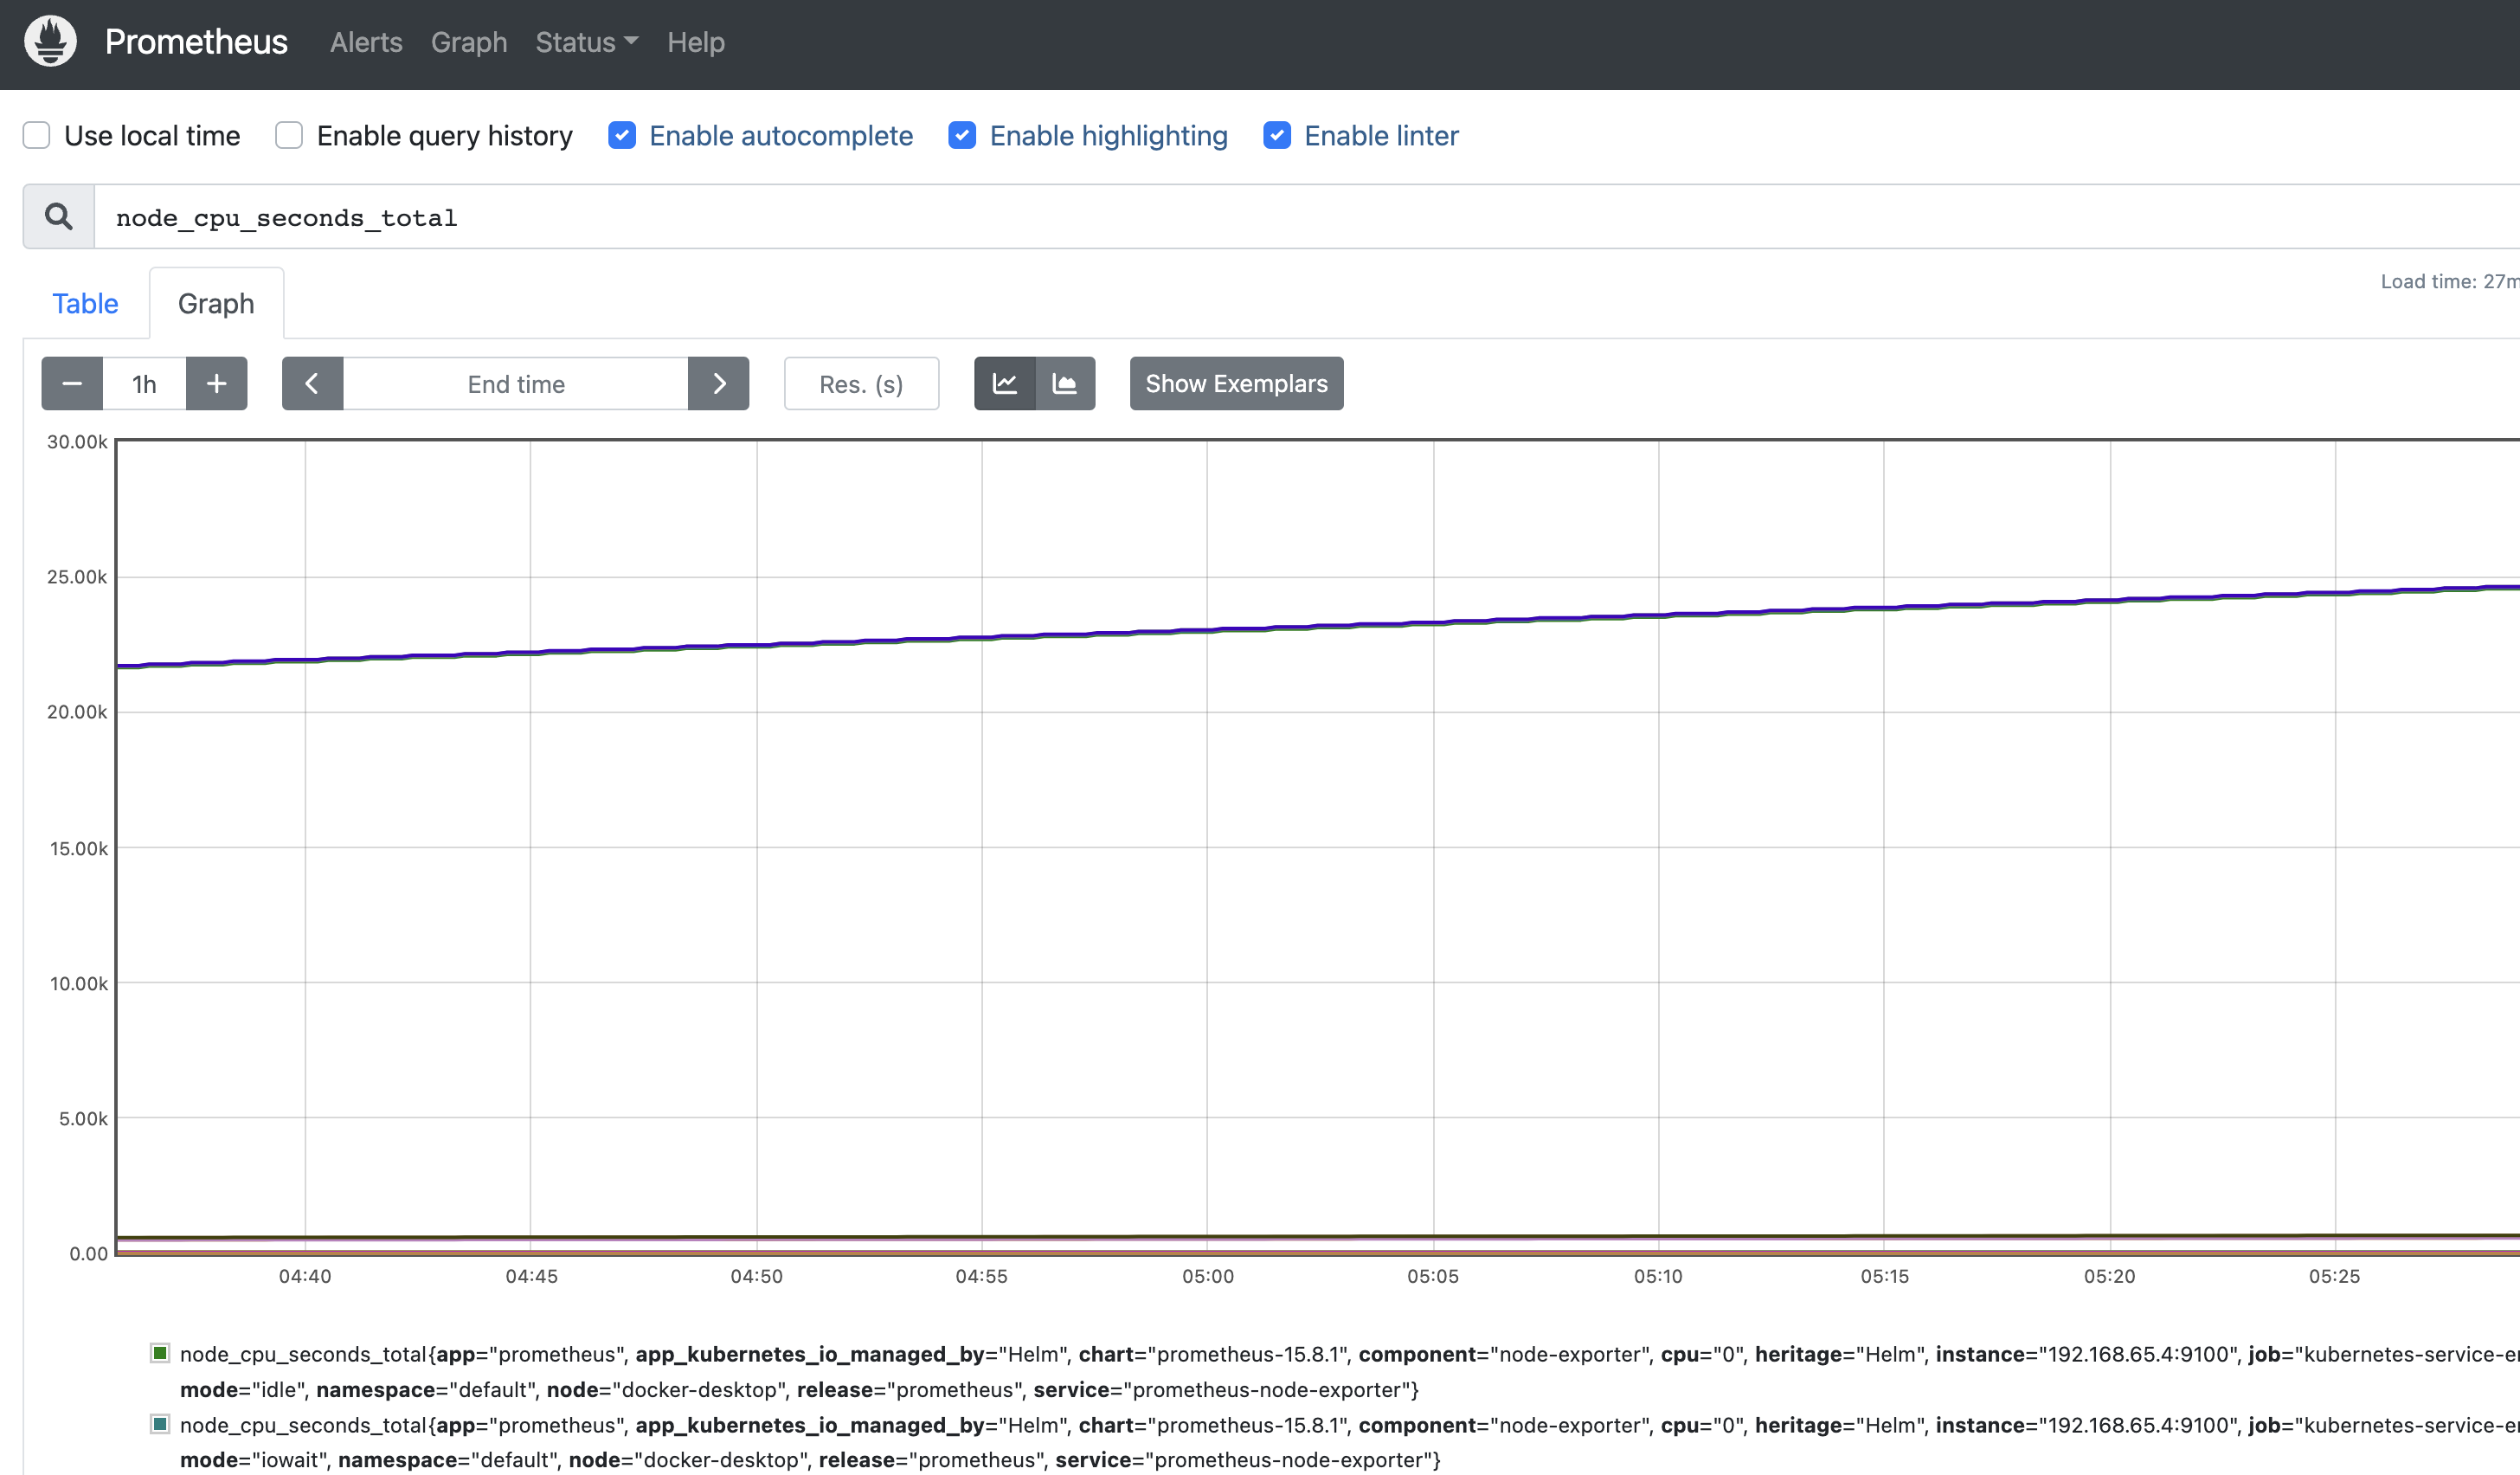
web에 접속하여 정상적으로 조회 되는지 확인해보자
http://localhost:30006/graph

반응형
